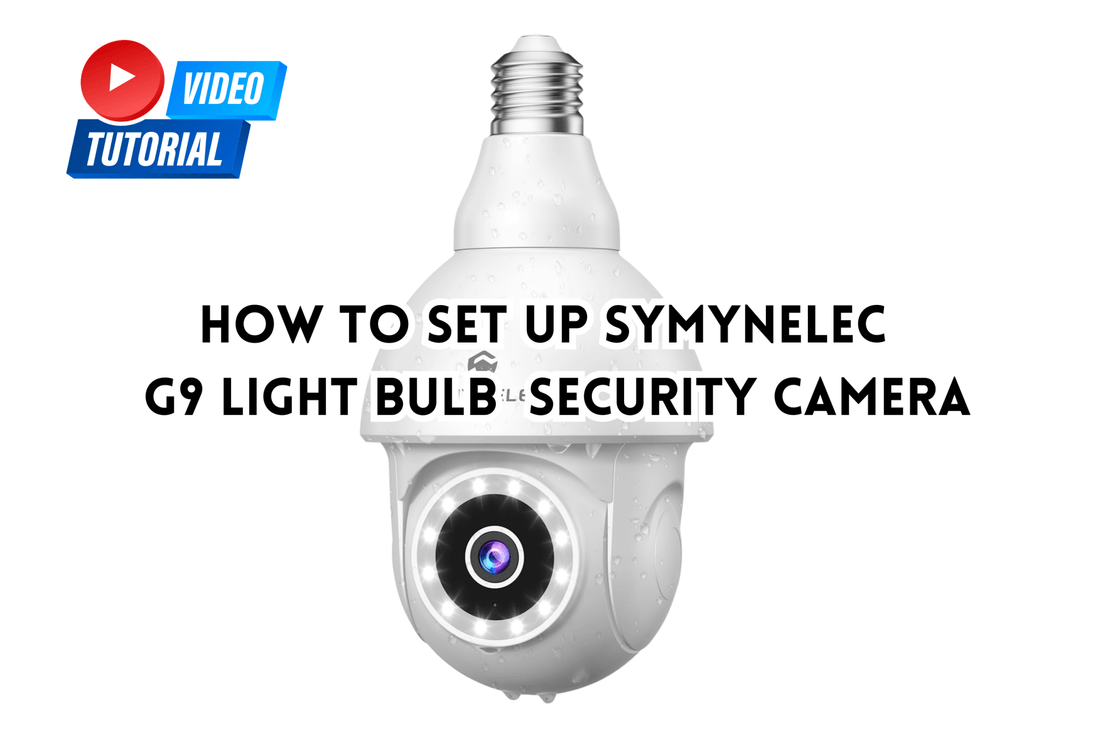
How to connect Symynelec G9 Light Bulb Camera to 2.4GHz WiFi?
Share
G9 Light Bulb Security Camera Manual
Setting up your G9 security camera to work with your Wi-Fi is a quick and easy process. This guide will walk you through each step of the QR code setup mode, ensuring your camera is properly installed and ready to monitor your home.
Step 1: Power Off the Switch Before Installation
Before beginning the installation, turn off the power to avoid any electrical issues. Once the power is off, you can install the camera in one of two ways:
- Bulb Socket Installation: If you're using a bulb socket, screw the camera into the socket securely.
- Base Installation: Alternatively, you can use the included base to mount the camera in your preferred location.
Step 2: Prepare the Camera for Pairing
After securing the camera in place, follow these steps to get it ready for Wi-Fi pairing:
- Remove the Lens Plastic Sticker: Peel off the protective sticker from the camera lens to ensure clear video recording.
- Turn On the Power: Switch the power back on to activate the camera.
-
Wait for the Camera to Beep: After a short while, the camera will begin beeping every 15 seconds. This beeping sound indicates the camera is ready for pairing.
- If the camera doesn’t beep, press and hold the reset button for 8 seconds to reset the device and start fresh.
Step 3: Generate the QR Code for Wi-Fi Setup
Once the camera is ready, you can now generate the Wi-Fi QR code:
- Open your security camera app and enter your 2.4GHz Wi-Fi password. The app will then create a QR code containing your Wi-Fi information.
- Hold your phone 6 to 8 inches away from the camera lens to allow the camera to scan the QR code.
Step 4: Troubleshooting QR Code Scanning
If the camera struggles to scan the QR code, try the following:
- Adjust Phone Position: Move your phone slightly closer or further away from the camera lens to find the optimal distance.
- Tilt the Screen: Changing the angle of your phone might help the camera read the QR code more easily.
- Avoid Light Reflections and High Contrast Backgrounds: Make sure the QR code is displayed clearly without any reflections or background interference that could affect the scan.
Step 5: Complete the Pairing Process
Once the camera successfully reads the QR code, it will send out a voice prompt indicating it is connecting.
- Press and hold the prompt button until you hear the camera beep again.
- The camera will now begin pairing with your Wi-Fi network. Wait until the connection is established.
Troubleshooting Connection Issues
If you're unable to connect the G9 security camera to your Wi-Fi, ensure you are using a 2.4GHz Wi-Fi network, as most smart security cameras don't support 5GHz networks. Additionally, double-check that you’ve entered the correct password.
Should issues persist, feel free to reach out to our customer service team for assistance. We're here to help make sure your G9 Wi-Fi security camera is set up correctly and providing the security you need.
Conclusion
By following these steps, you’ll have your G9 security camera connected to your Wi-Fi using the QR code pairing method in no time. If you encounter any issues, don’t hesitate to contact us, and remember, your home’s safety is our top priority!
